Creating an anaglyph image from MER and Phoenix data

Entry posted by Christina Kreisch
6297 views
One of the unique features of the MER and Phoenix Analyst's Notebooks is being able to create an anaglyph image from a pair of images taken by the Navcam, Pancam, or Hazcam stereo cameras.
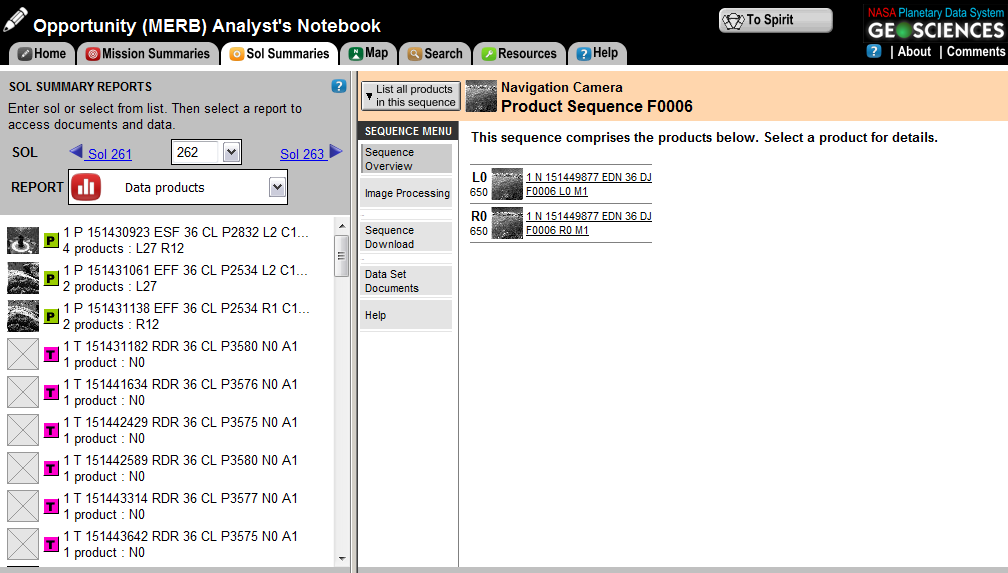
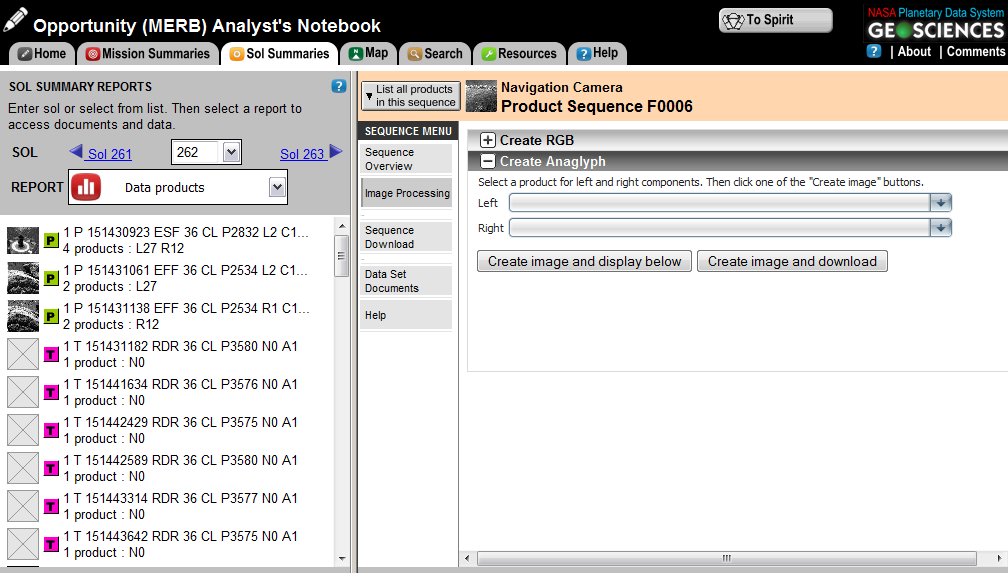
The anaglyph feature is found under Image Processing in the Product Sequence menu for a given stereo pair of images. By going into "Sol Summaries" (for Spirit, Opportunity, or Phoenix), you will be able to select a sol and then view the data products from the "Report" menu. By choosing a sequence with stereo images, the product sequence overview page will be displayed. Click on "Image Processing" from the sequence menu (on the left of the overview page), and then click on "Create Anaglyph" to open the dialog. Here you can assign individual frames as the left and right components, and then create the anaglyph image for display or download.
For example, from Opportunity sol 262 we can choose the Navcam sequence F0006 starting at SCLK 151449877:

0 Comments
Recommended Comments
There are no comments to display.
Create an account or sign in to comment
You need to be a member in order to leave a comment
Create an account
Sign up for a new account in our community. It's easy!
Register a new accountSign in
Already have an account? Sign in here.
Sign In Now